Smooth walls are a must for creating a high-end look in any room of your home. However, many homeowners like me, are not fortunate enough to have smooth walls, to begin with. So I began searching the internet for a way to smooth a textured wall. Here’s what I found.
You can flatten your textured walls yourself through either skim coating or sanding. Skim coating is a process where you apply a thin layer of joint compound to your walls. This will help to smooth out the texture. Sanding is another option. Lastly, you can replace drywall panels on your wall.
But how do you perform a skim coat or sand the walls to make them smooth? Also, when should you think about replacing the drywalls altogether? Keep reading and we’ll provide 3 effective solutions for how to get rid of textured walls as well as discuss some other important points.
How do you get rid of textured walls?
You see, most older homes come with textured walls that are difficult to work with when it comes to DIY renovations or finishing touches.
In most cases, textured walls are an eyesore and take away from the beauty of the rest of the room.
So let’s take a look at 2 effective ways to flatten textured walls with DIY solutions.
1. Skim Coating
Have you ever seen a wall that looks like it’s been plastered but it’s actually just been painted? That’s because they’ve used a technique called skim coating.
Skim coating is a process where you apply a very thin layer of joint compound to a wall in order to create a smooth surface.
It’s often used to prep walls for painting or to cover up imperfections. We’ll use it to flatten our textured walls. You can use skim coating if you don’t want to sand your walls.
Do note that you should use this method if your wall is only textured, not damaged. If your wall has some damage such as holes, this is not the method you need.
Tools You’ll Need
You’re going to need the following tools to ensure a successful skim coat:
| Tools You’ll Need | Reason |
| All-purpose joint compound (compulsory) | This is the actual material you’ll need to apply on the textured wall. You can get it at stores like Walmart or HomeDepot. |
| Taping Knife (compulsory) | You’ll use this to spread the joint compound onto the wall. |
| Mud Pan, or a bucket (compulsory) | You’ll use the mud pan to hold your joint compound. You can also use the compound directly from the bucket but this tool is preferred. |
Preparation
When you begin to skim coating, there are a few things you need to do to prepare your room. First, you need to cover the ground. This will help protect your floor from any spills or messes. Next, you need to move furniture out of the way.

This will give you plenty of space to work and will prevent you from accidentally damaging any furniture.
Finally, make sure you cover all the stuff that cannot be moved out of the room. This will save you time and frustration later on.
Begin skimming the wall
Now that we have all the tools and our preparation is complete, it’s time to get our hands dirty.

- Start by pouring some of the joint compounds into the mud pan.
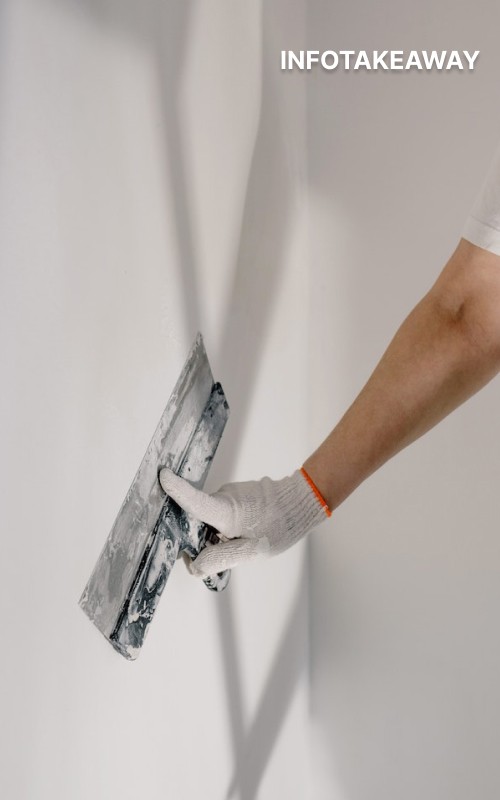
- Take your trusty tapping knife and scoop some of the compound onto it.
- Now, begin applying the joint compound onto the wall. You’ll feel as if you’re spreading butter onto a toast. The process is pretty similar except this one feels very large.
- Make sure you get each spot of the wall and don’t leave any funny-looking bumps.
- Don’t worry if you see bubbles forming on the compound. Wait for the compound to dry a little and you can smoothen them out using the tapping knife.
- Wait a few hours (4-5) and if you’re not happy with the results, you can apply a second layer but it’s not needed in many cases.
- Lastly, wait for the wall to dry fully and now you can apply paint to, hang wallpaper and do whatever you like!
2. Sanding
You just found a home and you love it, but you don’t love the ugly textured walls in your living room.
And while they’re not really anybody’s fault, they are really grossing you out! So what do you do?
You sand them of course! Well, that’s at least what I did when I rented my last apartment (discussed this with the owner beforehand), and it’s an incredibly effective way to get rid of those icky textures once and for all!

This technique is perfect for getting rid of small wall textures. Don’t use this technique on a large wall with countless textures as you’ll only end up exhausting yourself. In such cases, the skim coating is your best option which we covered above.
What you’ll need
You only need a hand sander and sandpaper to get rid of wall textures. Hand sander and sandpaper can be found in nearby hardware stores or you can order online from sites such as Amazon or HomeDepot.
You can also use an electric sander on a plaster wall which will speed up the process but it’s a bit risky on the drywall, and we don’t want to risk any damage to the wall. Hence we’re using a hand sander.
Preparation
Before you begin sanding your textured walls, it’s important to take some preparatory steps.
First, you’ll want to make sure you cover your furniture and floors to protect them from the dust that will be generated.
Begin Sanding the wall
Now that the preparations have been made, here are the steps to sand a textured a wall:
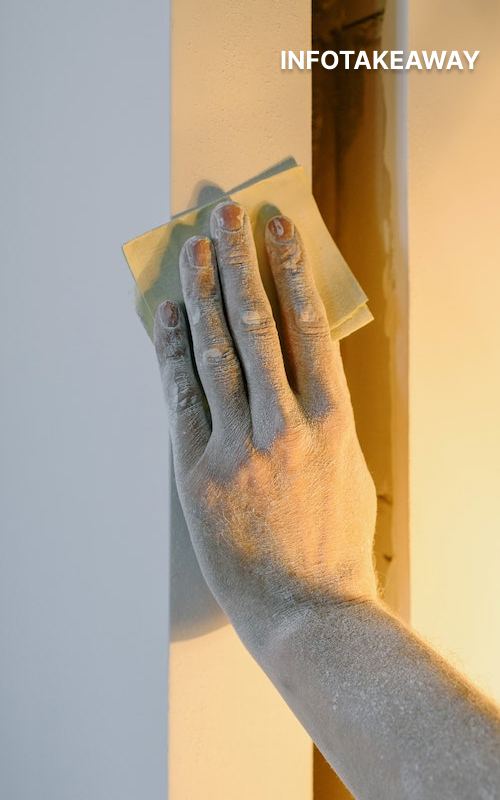
- Use a hand sander to sand down the walls, starting with coarse sandpaper and working your way up to finer grits.
- Vacuum the walls to remove any dust generated by sanding.
- Wipe the walls down with a damp cloth to remove any lingering dust particles.
- Apply a primer coat and let it dry before painting or wallpapering over the now-smooth surface.
- Enjoy your newly textured-free walls!
3. Replace Wall Panels
The third one on our list on how to smoothen textured walls is to replace drywall panels in case your wall is made of drywall.
Drywall is a type of wall panel that is made from gypsum and paper. It is a popular choice for walls because it is easy to install and is fire resistant. However, drywall can be difficult to smooth out if it becomes damaged.
If your walls are not only textured but damaged as well, you will need to replace them to get rid of wall textures.
You might think that replacing drywalls will be costly but in fact, it’s cheaper compared to skim coating a whole wall. You should consider changing your walls in case they’re damaged and this is a job best left for the professionals.
Conclusion
Wall textures can be tricky to work with when it comes to DIY renovations. If you are dealing with an extremely textured wall and need to smooth it, these are some of the easiest and most effective ways to do so.
With a little bit of patience and the right tools, you should be able to smooth out your wall to the desired finish with ease!
If you have tried all of the methods above and are still not happy with the results, professionals are always there to help us.
Remember, don’t try to skim coat or sand a wall that’s been damaged as chances are you’ll only make it worse since you and I are not professionals. In such cases, call the professionals!
If you liked this article and want to read more, check out “How to hang shelves“, “How to hang mirrors“, and “Ideas for wall decoration.” Also, check out infotakeaway for more similar content.
