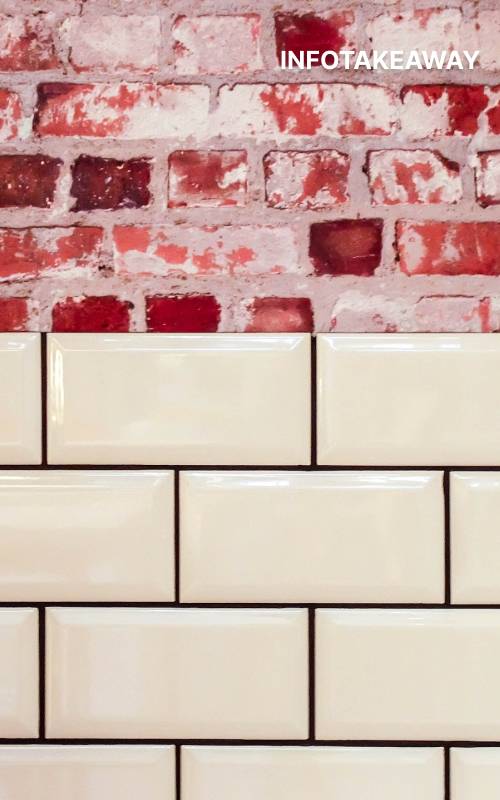
While wall tiles look great, they can also be quite expensive and time-consuming to install.
If you’re not particularly skilled in the art of tiling, or simply don’t have the time to do so, there might be another way to get the same look in a fraction of the time and money!
Our article will discuss how to install stick-on tiles on your walls. As you’ll see, it is both easy and inexpensive!
The 2 most popular DIY tiling methods
There are two popular ways people go about installing tiles: using adhesive and using mortar. The former is a more affordable option, but it’s also more time-consuming and a bit messier.
Mortar is more expensive, but it’s faster than adhesive and easier to clean up afterward.
If you’re not sure which one is right for you, there are some pros and cons of each method below that may help you decide what will work best in your home.
First, both methods involve spreading out a layer of mortar over the area you plan on tiling.
With adhesive, you’ll need to first measure out where all the individual tiles will be placed so they can be cut beforehand.
Once they’re cut, use an application knife to spread glue on each tile before sticking them down onto the wall where they’ll remain until they can be grouted.
When applying tile with mortar, measure and lay out your tiles first before adding enough water to create a good mixture for spreading over the area.
Then apply enough dry sand onto the wet mixture so it creates a lumpy consistency before carefully pressing down each individual tile into place.
Advantages of using Self-adhesive bathroom tiles
Many homeowners are interested in installing tile on their walls but don’t know how. One way that has become popular is using self-adhesive tiles, which can be installed and removed without needing any glue or adhesive.

If you’re someone who’s considering this option, here are some of the advantages of using stick-on-wall tiles:
- No messy glue is needed.
- Can cover large areas quickly.
- Can install them over an existing surface.
- Looks great with different designs and patterns
Disadvantages of using Self-adhesive bathroom tiles: There are a few disadvantages to using these types of tiles as well.
They do not provide the same level of waterproofing as regular ceramic or porcelain tiling would provide, so if you want a high quality tiling job then it might not be a good idea to use these types of tiles.
However, if your goal is something inexpensive and easy to remove then these would work just fine for your needs.
Overall, this is a great way for people who want tile on their walls but don’t have time or money for professional installation to get it done at home.
What you need to know before installing
Installing new tiles can be a frustrating process, especially if you’re working on your own.

The most important thing to know before installing tiles is that your surface needs to be clean and smooth, so make sure it’s been cleaned with a degreaser or some other cleaning agent that will remove any oils or stains from the surface.
Then, you’ll want to use a primer before applying tile glue and setting your tiles in place. Finally, allow enough time for everything to dry completely.
Once you’ve done all of this, you can install your final coat of sealant on top of everything and enjoy your new space!
The following steps are what you need to do before starting:
- Clean the surface with a degreaser.
- Use a primer as an adhesive.
- Allow enough time for everything to dry.
- Seal the floor with finish.
- Add adhesives to the wall.
- Place sticks across and up/down.
- Insert ends into slots on back of tiles.
- Press into place firmly.
- Snap off pieces overhanging edges.
- Remove excess material.
- Apply grout.
- Wipe off excess grout.
- Wait 24 hours.
Step-by-step instructions
If you are feeling intimidated by the process of tile installation or just want an easier way, here’s a simple solution: stick-on tiles.
These flexible tiles can be installed in any room without having to worry about getting your walls perfectly level, making it a great option for renters and DIYers alike. Here’s how to install them:
- Measure out where you want your tiles to go and mark the space with a pencil.
- Using a drywall saw, cut along each line so that you have individual squares.
- Apply adhesive onto one square at a time, firmly pressing down until it has fully adhered to the wall. Then, put another layer on top of the first to ensure maximum coverage.
- Repeat this process until all the spaces are filled. It’s important to make sure there is a uniform pattern in both color and spacing; otherwise it may appear too random or chaotic.
- Once finished tiling, use a damp cloth to wipe away any excess glue residue before leaving them alone for 24 hours.
- When they’re completely set, seal each tile with spray paint (clear or white will do).
Are Peel And Stick Tiles Worth It?
The biggest benefit of peel and stick tiles is that they are very easy to install, which makes them perfect for DIYers and renters.
If you’re renting a house, you don’t want to be installing expensive tile over carpet or wood flooring because it may not last.
Peel and stick tiles are also ideal if you have uneven walls or if your drywall isn’t in great shape. This is because there’s no need for messy adhesives like grout or mortar, so all you’ll need is some caulking around the perimeter of where your tiles meet your drywall.
How Long Does Stick On Wall Tiles Last?
Stick-on-wall tiles are a budget-friendly and easy way to decorate your walls. They come in a variety of shapes, sizes, colors, and textures which can help you create a cohesive look with your current furniture or brighten up any room with a splash of color.
However, most stick-on tiles are made out of vinyl which may contain toxic chemicals that emit fumes and off-gases into the air.
This is especially true if you live in a humid environment like Florida where heat can build up in your home causing the materials to decompose faster than usual.
Fresco tiles are made from real tile pieces that have been hand cut and designed specifically for this purpose.
How do you prepare walls for peel and stick tile?
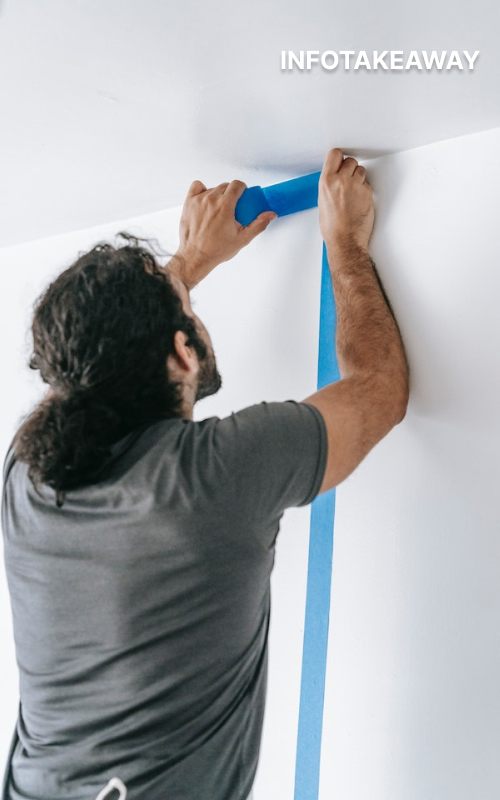
There are two ways you can prepare your walls for stick-on tiles. The first is taping the seams and corners of your walls with a layer of tape.
This will help create a more seamless finish that won’t peel up from the edges when you start pulling off the backing paper.
The second way is to use a belt sander or orbital sander. You want to sand down any high spots on your walls, which will make it easier for your tile to stay stuck in place.
Then all you have to do is remove all dust from your wall with a damp rag before sticking it on your tiles.
Conclusion
Stick-on tiles are a quick and easy way to cover up old walls or cover damaged walls. They’re also a great solution for renters since they can be installed without damaging existing surfaces.
It’s important that you choose your tiles carefully though because there is such a wide variety of shapes, colors, sizes, and textures available that it can be hard to make a decision.
What type of look are you going for? What size tiles do you need? And what color or pattern will work best with your current decor?
Think about these questions when shopping around so that you can pick out the perfect tiles. We hope you found our tips useful!
Take a look at “black wall decor“, “white wall decor“, and “office wall decor.” Check out our home page for more similar content.