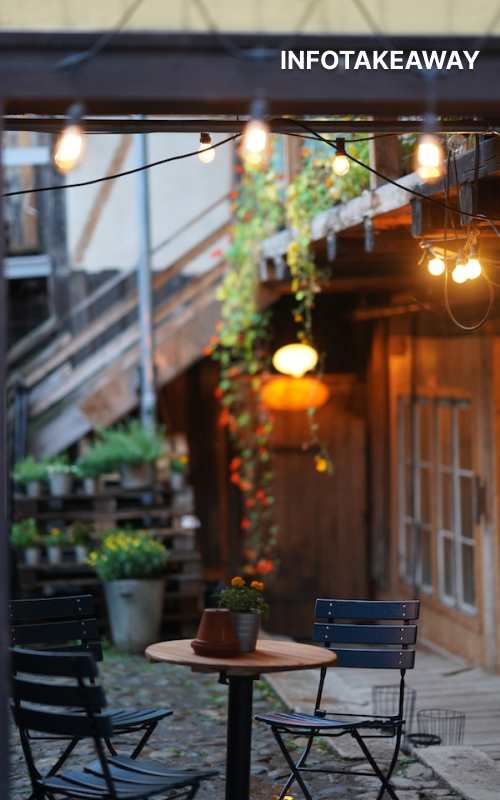
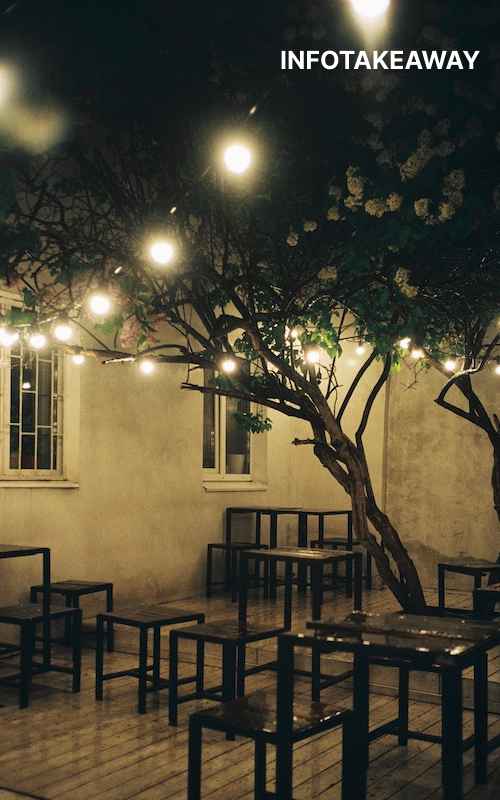
Patio lights are an excellent way to change the feel of your outdoor space and set the mood at night.
Hanging patio lights can be challenging, though, especially if you don’t have much experience in DIY projects or aren’t sure how to go about them the right way.
But with just a few simple supplies and tips, hanging patio lights can be simple and easy enough to do at home on your own.
Here are some simple tips to help you hang patio lights that will add light and beauty to your patio or deck.
The Proper Way to Remove Old Patio Lights
Disconnect your lights from the power source if you have any outdoor lights on a timer. Next, remove your old lights by unscrewing them from the brackets.
Then, wrap the wire tightly around the base of each light before removing it.
Finally, discard the light fixtures in an appropriate manner such as taking them to a recycling center or donating them if they’re still in good condition.
It’s also important that you check the color temperature of your new lights.
Warm yellow light is best for illuminating living spaces that aren’t used at night.
Or where you want to feel cozy during evening gatherings, while cool white bulbs are better for lighting pathways and other areas that need visibility at night.
Tools for Hanging New Patio String Lights
While some people may be intimidated by hanging their own patio string lights, this task is quite simple.
It’s important to have the right tools for the job, but these are easy enough to find or purchase.
The only tools you’ll need are a ladder, a step stool or chair, an electric drill (with drill bits), wire cutters/strippers, screws, and hooks with screws.
You might also want some pliers or a wire crimper if you’re not using pre-made hooks. Once you have all your materials together, it’s time to start on the project! To begin, make sure your ladder is sturdy and secure before climbing up on it.
Once you’re standing on it, get ready to place your hooks around where you would like them to hang.
Now that your light fixtures are in place, it’s time to attach them! Make sure they are secure by adding some screws into each hook before moving on to the next one.
When all of your hooks are attached securely onto the ceiling or structure where you want them hung from, then it’s time for wiring!
String Lights – The Basics
String lights are an inexpensive, simple way to create a cozy outdoor space for family dinners, relaxing with your partner, or just unwinding on the weekend.

Hanging string lights is also an easy do-it-yourself project that can be completed in under an hour.
There are many ways you can hang these lights, but if you’re not sure where to start there are a few basic rules of thumb.
- String lights should be hung no lower than ten feet from the ground. Low hanging string lights will make it hard for people to walk under them.
- String lights should not be hung within one foot of any tree limbs or branches. The weight of the branch could cause the light string bulbs and wires to break over time.
- String lights should not be hung near any water faucets, as they may get wet and short out when turned on.
- Avoid plugging string lights into extension cords unless absolutely necessary. Plugging into extension cords can lead to increased energy use as well as safety risks due to the added strain on the power supply.
- If hanging string lights outdoors with multiple sets of wires don’t twist all sets together! Twisting wire sets together creates a high voltage area which may lead to increased fire risk or electric shocks.
- If at all possible try using solar-powered string lights when available. Solar-powered strings offer a safer alternative while still giving off great light!
String Lighting Tips
String lights are an inexpensive way of transforming your outdoor living space into the perfect spot for entertaining, enjoying a glass of wine with friends, or curling up on the sofa with a good book.

String lights make any party feel cozy and they can dress up an empty deck or patio. Here are some quick tips for hanging string lights:
- Choose the right length of string light by measuring your space and ensuring that you have enough wire for each strand of light.
- Use zip ties or wire cutters to attach the wire from one strand of lights to another when you need to extend it.
- Make sure there are at least three feet between each strand so that people don’t trip over them.
- Double-check all connections before plugging in.
- Wrap leftover wire around the base of plants or other objects where it won’t be seen.
- Consider using solar-powered lights if you live in a climate where nights are warm.
- Select string lights with bulbs that use low voltage.
- Try installing dimmers for more control
Where to Install String Lighting
String lighting is an inexpensive way to add personality to your outdoor living space. To get started, you need a power source, a light string, some hooks or nails for hanging the lights, and some heavy-duty wire cutters.
Depending on the length of your light string, you’ll need either two or three hooks or nails at each end of the string for hanging it up.
For longer strings that are over 50 feet in length, you may need four hooks or nails at each end. You can also use clamps if your string has thin wires instead of thicker wires.
The next step is to make sure your power source is functional and working correctly. Make sure the plug hasn’t been damaged, unplug the plug from any other appliances before plugging it into an outlet, then test to see if there’s any juice flowing through by turning on the circuit breaker or flipping on a switch that turns off all of the lights nearby.
Once everything checks out with these tests, you’re ready for installation! Determine where to hang the lights based on where they will create the most impact.
If you want them overhead, go ahead and measure how long your string will be when taut (this is going to help with figuring out how many hooks or nails you need). Consider spacing evenly between hooks so they don’t look too bunched together or too sparse.
1 foot apart is a good distance. You might also want to include ground level lighting as well just make sure that whatever type of wire you’re using won’t touch anything potentially flammable like furniture, plants, curtains, etcetera.
Different Styles of String Lighting Kits
If you have a backyard or even just a small patio, string lighting can make your space feel warm and inviting. String lights are an affordable way to bring more light into your outdoor living space.

There are many different styles of string lighting kits available on the market, so it’s important that you do some research before purchasing one. Here is some information about three popular types:
Vintage Style Kits
These kits typically include bulbs that resemble incandescent ones. They give off a soft glow with a vintage look which is perfect for outdoor spaces where home décor doesn’t need to be formal.
To get this type of effect, you’ll need at least six strands of wire from five feet to ten feet long. The plug should also have a grounded cord so there is no danger of getting shocked when using the lights.
To set these up in your yard or on your patio, simply loop them around trees and lamp posts as needed.
LED String Lighting Kits
These kits come with LED bulbs that use less energy than other types, giving them a much longer life span (usually 100,000 hours).
The nice thing about LED string lighting kits is that they work well in any kind of weather since they don’t rely on heavy batteries as other options do.
Conclusion
Hanging patio lights is a great way to create an inviting atmosphere for your outdoor living space. Whether you want a romantic evening setting or just something cheerful, we hope you found these tips helpful.
You will also like “how to hang pegboard” and “how to hang records on wall“.
